Although brick patios look great for outdoor spaces, they are more challenging to install compared to concrete patios.
But if you’re thinking about upgrading your landscape with a brick patio, it is important to consider several factors.
From the planning phase to finishing up your project, let’s see what it takes to build a brick patio!
Planning
Brick patios are a home improvement project that requires a lot of knowledge, expertise, and time, just like any other project.
You’ll have to:
- Determine the size of the brick patio.
- Choose the right place for it.
- Think about what design you want.
- Determine how many materials you’ll need.
The Size
The Place
You may already have a location in mind, but it’s crucial to consider the pre-existing underground pipes and cables that could be damaged during the digging process.
To avoid damaging any utility pipes, be sure to contact your gas, electricity, and water providers when digging around the property. Additionally, consider the water drainage from your patio.
The Design
The appearance of your patio is crucial as it can enhance or ruin the overall look of your outdoor area.
be aware that certain design patterns may require extra effort to implement. In some cases, you may need to cut bricks in half or use bricks that are of different sizes.
Additionally, certain brick types may not be suitable for creating borders. Please ensure that the surface of the bricks you select complements the rest of your outdoor area.
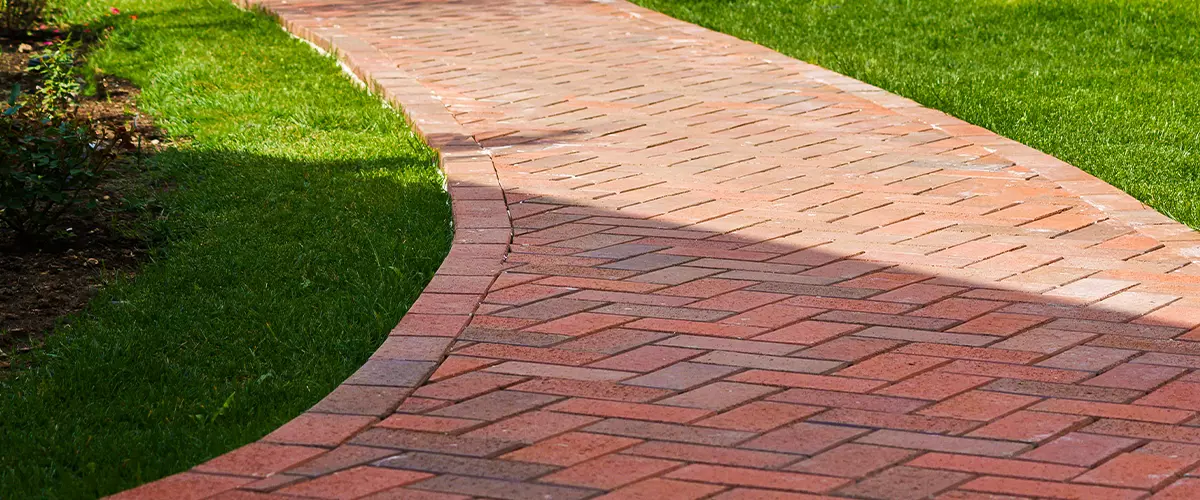
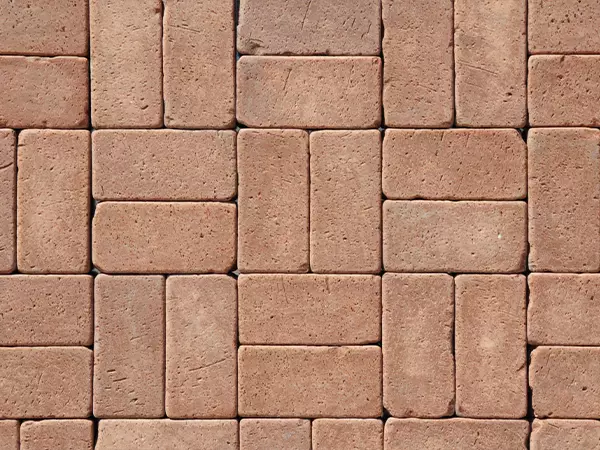
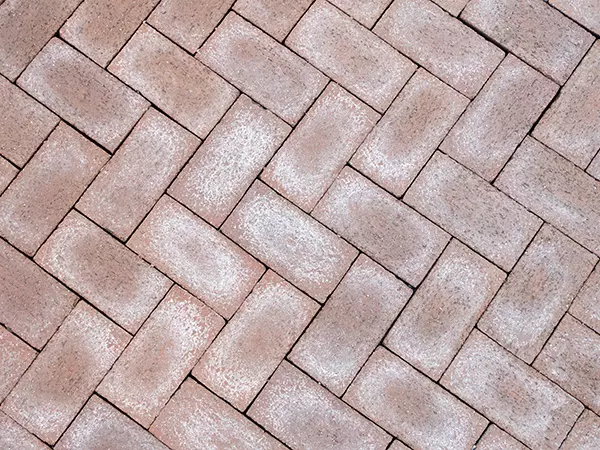
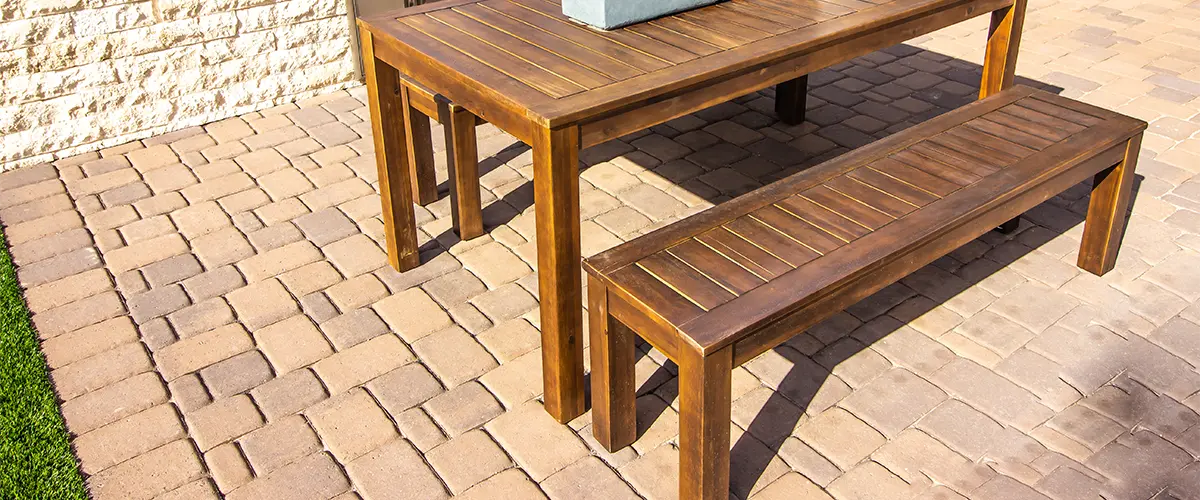
Some popular designs for patios are:
Basketweave
Jack on Jack
Herringbone
Brick Patio Or A Different Patio?
You’ll want to consider your needs, preferences, and budget when selecting materials for your patio. Brick pavers, for example, are a more expensive option than concrete but still less costly than flagstone.
A dry brick patio costs $4 to $8 per square foot. A wet brick patio with cement to hold the bricks together costs $6 to $12 per square foot. Concrete pavers cost between $4 and $6 per square foot.
While the brick material is important, the design you choose will also impact the total cost.
Supplies, Materials, And Tools
Materials
To strengthen the ground and enhance drainage, it is recommended to use crushed patio stones or gravel. A minimum of 4 inches of crushed material is required to establish a sturdy base. Sand is also required to set the bricks in place and then fill in the gaps so they won’t be going anywhere.
Use a landscape fabric beneath your patio to prevent weeds from growing between the bricks, which can be a difficult and time-consuming problem to address later on.
Pressure-treated lumber is a decent option for borders but not the best. The border will remain in constant contact with water and wet ground so lumber wouldn’t be great. Bricks could still be used on the edges, but we wouldn’t advise this.
Tools
Hiring a professional landscaper will ensure that your project is successful because they already possess the required tools. On the other hand, if you decide to do it yourself, you will have to either rent or buy the necessary tools, which can be quite pricey. Additionally, if you are not familiar with the tools, you will need time to learn how to use them.
At Farrell’s Lawn And Garden Center, we are equipped with the best tools and expertise to get your brick patio done in time and on budget.
You’ll need:
- brick hammer
- sand
- shovel
- garden stakes
- rake
- masonry saw
- sand or concrete screed
- wheelbarrow
- push broom
- tamper
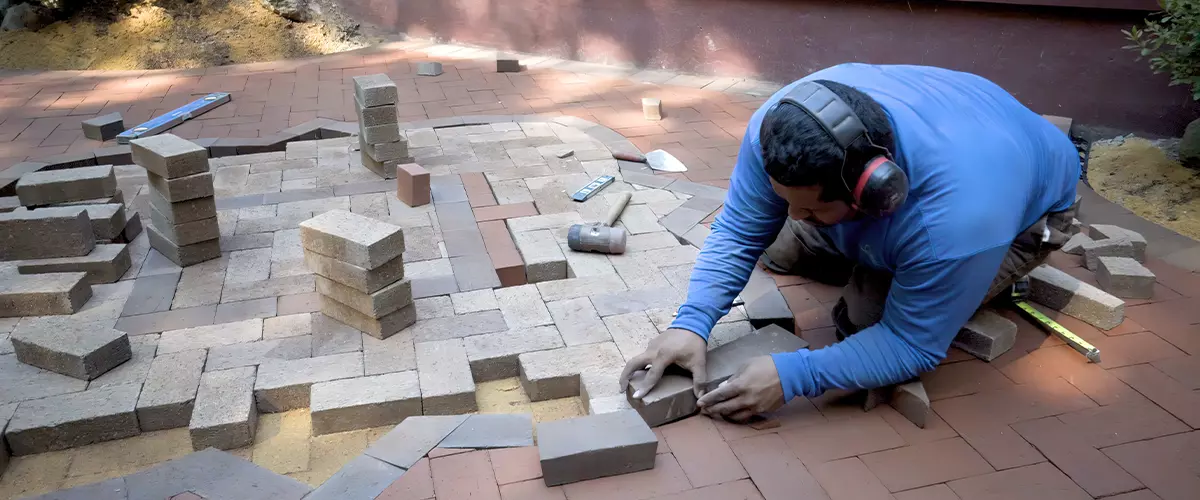
A Brick Patio Building Process
1. Measurements
2. Digging
Building a brick patio can be challenging, which is why older homeowners often hire landscapers from the beginning. Many individuals who attempt a patio project themselves later realize its difficulty and end up contacting professionals for assistance.
If you want to add gravel and sound, you’ll need a depth of 8 inches. If you’re okay with giving up the gravel’s stability and only using sand, four inches should be enough.
To prevent water from gathering around your house’s foundation, ensure that the ground is sloped appropriately.
If you intend to create borders using pavers, you can create a nice effect by digging deeper at the patio edges so that the pavers can stand vertically.
3. Tamp The Ground
4. Lay Down The Gravel
To ensure your brick patio is fully functional and durable, use approximately 4 inches of gravel. Make sure to follow the slope of the ground and maintain it. Once the gravel is in place, re-tamp it.
After you tamped the gravel and ensured you still have the desired slope, place the landscaping fabric to prevent the growth of weeds.
5. Install The Border
6. Add Sand
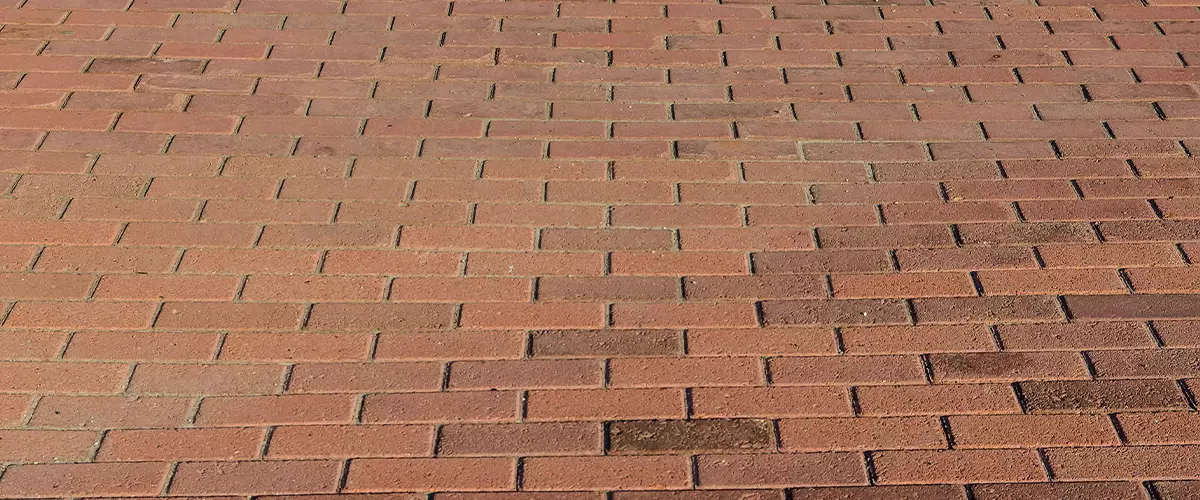
7. Place The Brick Pavers
8. Add Sand Again
Add another thin layer of sand over the brick patio and start brooming it between each brick. Only do this after all the bricks are in place, otherwise, you might end up creating an uneven ground that will cause the bricks to move around.
After you made sure you filled every crack, spray some water with a garden hose on your patio area. This will help the material settle between the bricks.
Conclusion
If it sounds complicated, know that it is. Not only you’ll need the design expertise and the right measurements, but you’ll also need a lot of time and physical effort.
Here at Farrell’s Lawn And Garden, we rarely tell homeowners to try and DIY their patio projects, unless they have vast experience in building outdoor spaces. If not, you’re better off letting the professionals take care of your patio.
If you want to get straight to work with a pro, give us a call at (419) 636-5429 or request your free quote now and let’s see your vision through!